
Do you know why “magic ring” is actually called magic? Because it helps to make the hole (the starting point of your projects) almost invisible.
You can compare two similar circles made with single crochet stitches. The only difference is that the first one was started with three chain stitches and the second one – with the magic ring. And you can see that the hole in the centre of the second circle is much smaller! That’s the magic!
I start all my projects worked from the centre with the magic ring. It is especially helpful when creating amigurumi. And it is very easy to make. (yo = yarn over, sc = single crochet, dc = double crochet, ch = chain stitch)
I start all my projects worked from the centre with the magic ring. It is especially helpful when creating amigurumi. And it is very easy to make. (yo = yarn over, sc = single crochet, dc = double crochet, ch = chain stitch)
First make a ring with yarn,

then yo and draw up a loop through this ring.

Make ch1 (if you start crocheting with sc) or ch2 (if you make the first round with dc). I made ch1.

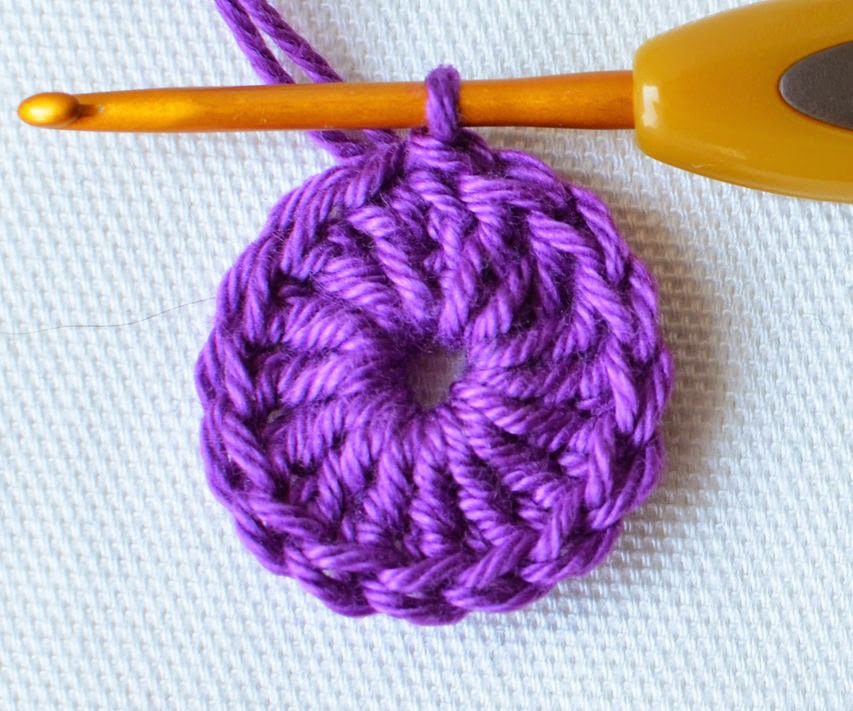
And make necessary number of sc or dc in the magic ring. I made 8 sc.

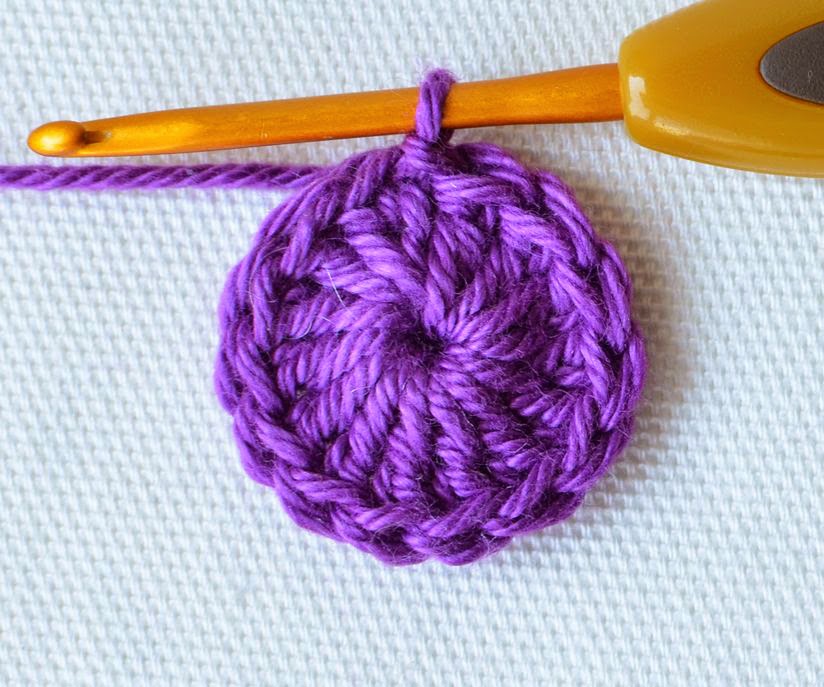
Now pull the yarn tail to make the hole smaller. But don’t cut this yarn tail! You should carefully weave it in. Because it you cut it – your central piece can be ripped later.

You can finish this round with a slip stitch (if you continue crocheting with the yarn of same color) or with Needle Join if you want to change yarn. “Needle join” is a great technique which helps to make joining sections invisible and will always have a perfect stitch count!
Don't forget to subscribe to Weekly Newsletter not to miss a single post. And you can also follow me on Facebook, Pinterest and Instagram.

Copyright LillaBjornCrochet 2014-2015. All rights reserved. This tutorial is for unlimited personal use only. Do not reproduce or sell it. The tutorial may not be copied in any way (print or digitally), in part or in full. Please, read Copyright page for more information.
Don't forget to subscribe to Weekly Newsletter not to miss a single post. And you can also follow me on Facebook, Pinterest and Instagram.


Post a Comment