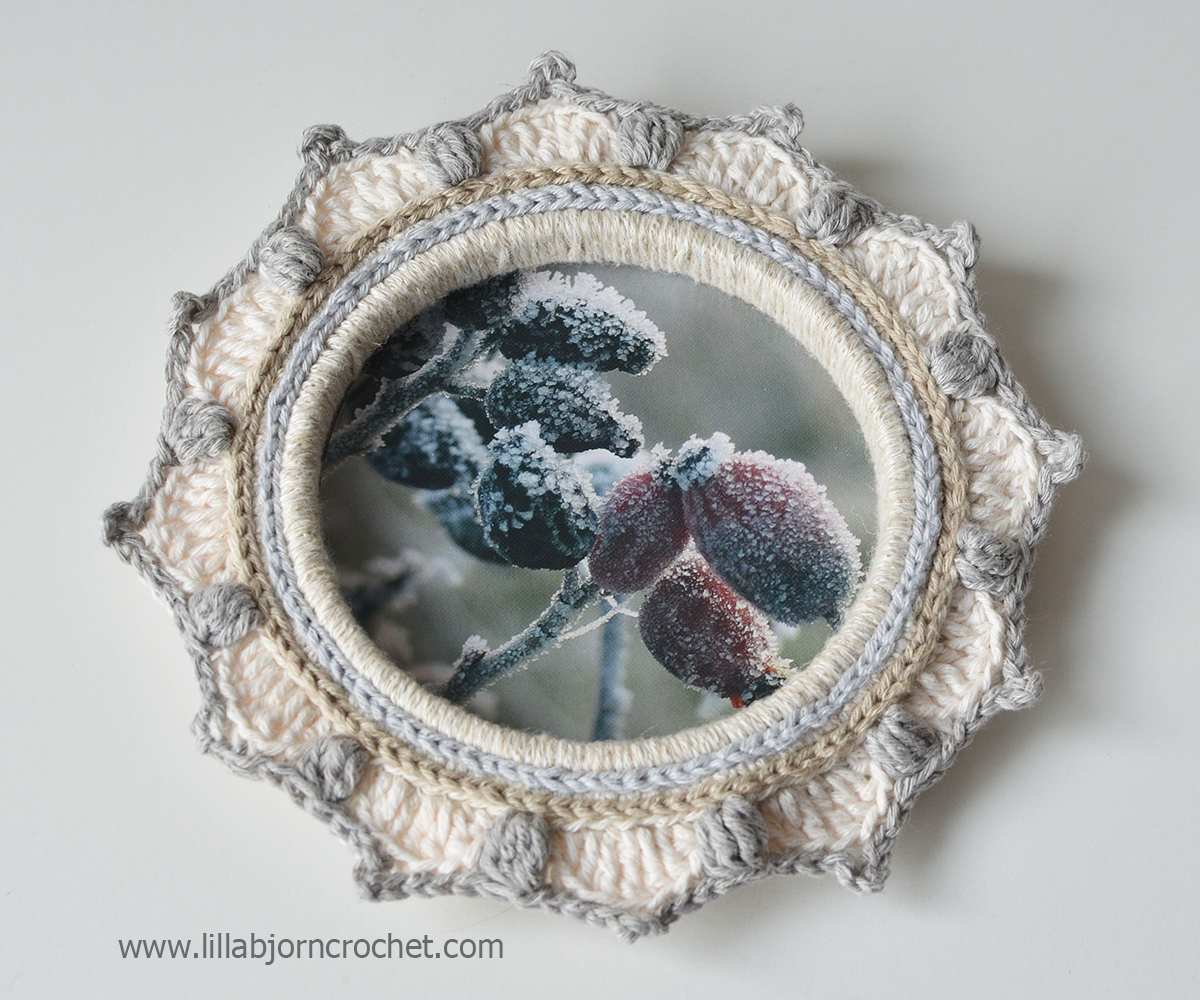
As you probably know I have been busy with creating photo-frames of wooden embroidery hoops recently. Last week 3 free patterns were released (you can find them HERE) and yesterday I finally finished the frames and wrote down a tutorial on how to attach pictures to the embroidery hoops. I hope you will like it!
Copyright LillaBjornCrochet 2014-2015. All rights reserved. This tutorial is for unlimited personal use only. Do not reproduce or sell it. The tutorial may not be copied in any way (print or digitally), in part or in full. Please, read Copyright page for more information.
I saw many wonderful crochet borders around embroidery hoops in the internet and was very strong in my wish to design something myself. At the very beginning I was thinking about photo frames, but when the designs were finished I thought they can be very cute hanging wall decorations themselves. And if made around smaller rings - they can become wonderful bracelets as well! But as far as I promised photo frames to you, I decided to fulfill this idea, too.
I had no experience with crochet around embroidery hoops before and I had no idea how I can attach pictures to them. So I asked my followers on Facebook for the tips, and got several wonderful ideas! Thank you very much for help!! Here are three of them:
- “Use mat board and long tacks to secure it to the hoop. That way you can take it apart later. I would get a piece of acetate to use as the "glass" to keep dust off the photo”. (Cathy Bullington)
- “You could print the picture on fabric and put it in the way you usually do embroidery. It would also allow you to add other embellishments like beads or sequins to the picture itself”. (Teresa Meckley)
- “Cut out a circle of felt slightly larger than the opening, mount your picture on the felt and then sew the felt onto the back of these beauties”. (Deborah O'Keefe Bryant)
I like all three ideas very much but in my opinion the last one is just genius! I decided to try it but instead of sewing felt onto the frame, I just used a second part of the hoop to fasten the felt.
So here is what I did.
First you will need to cut your picture to fit the opening of the frame (see pictures below). I suggest that you train with a piece of hard paper first to make a template of an ideal size to fit your frame. Place the ring with crochet border on the paper and draw a circle with pencil along the opening. Cut the circle 3-5 mm larger than the opening of the frame. Later you will try to insert it into your finished frame and maybe you will need to cut a little bit more to make a circle smaller. Once you are satisfied with the size and your circle fits the frame perfectly, you can use this template to cut your pictures.
To make a frame (see pictures below) place a piece of felt over the wrong side of the hoop with crochet border (you can use any fabric instead of felt, but disadvantage is that you will need to secure the cut edge in some way), put second ring of the hoop with fastener over it, press it a bit so that both rings fit well and tight the fastener. Now you can cut the felt around the hoop. And… your frame is ready! Isn’t it simple??
Now simply insert your cut picture into the frame, that’s it!
When I was working on this tutorial I suddenly thought about embroidery! Well, I am using embroidery hoops to make the borders, so why not to make an embroidery to frame it with this hoop? :) I used to make lots of cross stitch embroideries before. But I am not a professional embroider so, please, don’t judge my work too strictly. You may be shocked by the look of the wrong side of my embroidery… Well, what I can say in my defense. I can weave in ends in crochet but I am very- very bad in this when it comes to embroidery. :)
I made a small and simple embroidery of a Christmas tree on a linen canvas of natural color (to match the border which was crocheted with Linen Soft* yarn by Scheepjes) and attached it to the hoop in the same way as I attached the felt to a photo-frame. The only difference is that after cutting canvas I removed it from the hoop and worked with blanket stitches along the edge to secure it. It is probably not visible well in the picture but blanket stitches are there, I just used embroidery thread of matching color for that. And when I was done, I put embroidery back to the hoop.
That’s it!
Don't forget to subscribe to Weekly Newsletter not to miss a single post. And you can also follow me on Facebook, Pinterest and Instagram.


Tatsiana, I love your cross stitch tree! I have several Christmas themed cross stitch pieces that I've finished stitching but have never done anything with. Now I know what to do with them! :)
ReplyDeleteFor me it is difficult to finish my projects (knitting, crochet or embroidery) in general. But you get so much pleasure and satisfaction when you finally manage to finish them :) Do you agree?
DeleteI have the same problem finishing, usually projects just need to be put together, lined, etc. And yes, it feels sooo good to finish!!:)
DeleteThese are so pretty! A gal put just hoops on her wall so I sent her this link for some other ideas. Very nice!!
ReplyDelete