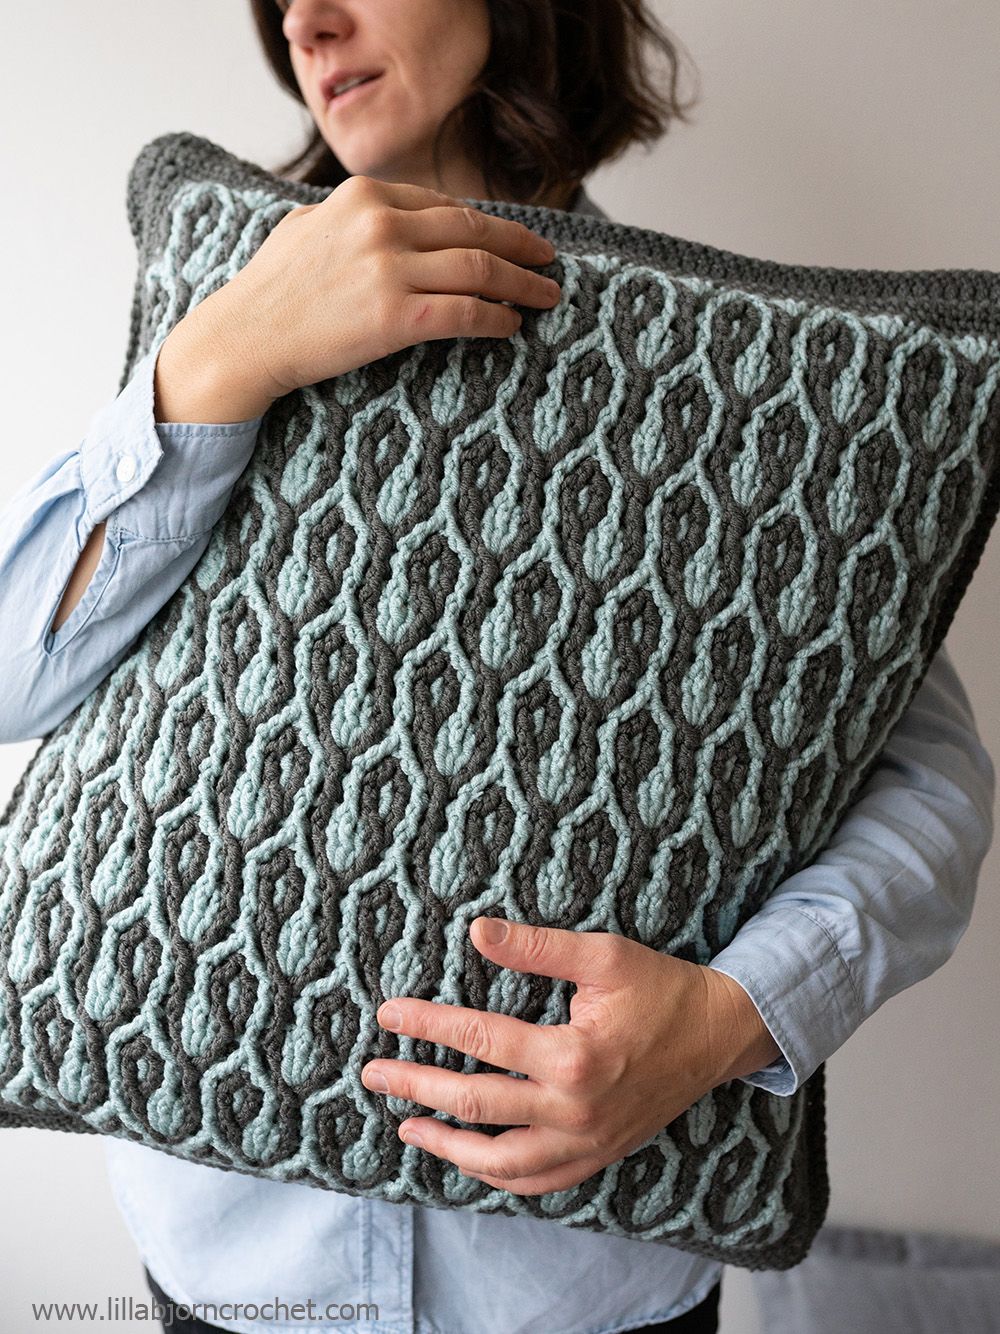
Hello and welcome to the second week of the Scandi Winter mystery make-a-long. Today we will be making a brioche pillow. And if this project is too big for you (you might be very busy with making last minute gifts these days), you can still make a small sample with a few stitch pattern repeats. To try out the technique. And who knows, maybe you will fall in love with it as much as I.
 |
| Photo credit: @evakobz |
The Dega Brioche Pillow pattern has been added to your Ravelry library. Please, refresh it and download the instructions. As always, you will see two files. One is full of progress pictures and another one is with text only.
If you do not see anything in your library, that might be that you purchased Winter Scandi MAL listing without being logged into your Ravelry account. But no worries, please send me a message mentioning your email and Ravelry name and I will add the pattern manually.
UPDATE: Dega Brioche Pillow is available HERE on Etsy.
So, today we learn brioche crochet. I must admit that Brioche Pillow is not a beginner level. And probably not even an intermediate one. If you worked in brioche crochet before, today you will do something different, as we will work in the rows this time.
 |
| Photo credit: @evakobz |
As usually, you will use only one color for each row, without cutting. The yarn will be brought up to the next rows along the edge. You will work 2 rows on the right side, and two rows on the wrong side, so you will turn the work after every 2 rows (except for the very beginning).
Changing/attaching new colors might be tricky at the first glance. To help you, I have included loads of progress pictures. As well as the link to a video tutorial explaining basics of brioche crochet. Please, watch this video, as it will surely answer all your questions, and will help you with understanding of the written pattern.
You can also check a brioche masterclass here, on my blog.
Brioche crochet is all about front/back post stitches and chains, increases and decreases. Working on the wrong side might be a bit tricky, as you should work all back post stitches behind the chain spaces from the previous row. So, the basic rule is to work stitches around stitches of the same color from 2 rows below in such a way, so that chain spaces always stay on the wrong side.
 |
| Photo credit: @evakobz |
Again, a video tutorial should answer most of your questions (if not all of them). And if you are still not sure, you can post your progress picture in our Facebook group and ask questions there.
As for my pillow, I used Scheepjes Chunky Monkey* yarn together with 5 mm hook. I made two squares in reversed colors and joined them together with single crochet stitches.
I wish you good luck and can’t wait to all the finished pillows! Or smaller samples 😊 This brioche stitch pattern can be used for table runners, dishcloths, pot holders, and anything else you can think of.
And see you next week for the last part of the Winter Scandi MAL!
Subscribe to a newsletter not to miss a single post. You can also follow me on Facebook, Pinterest and Instagram.


Post a Comment