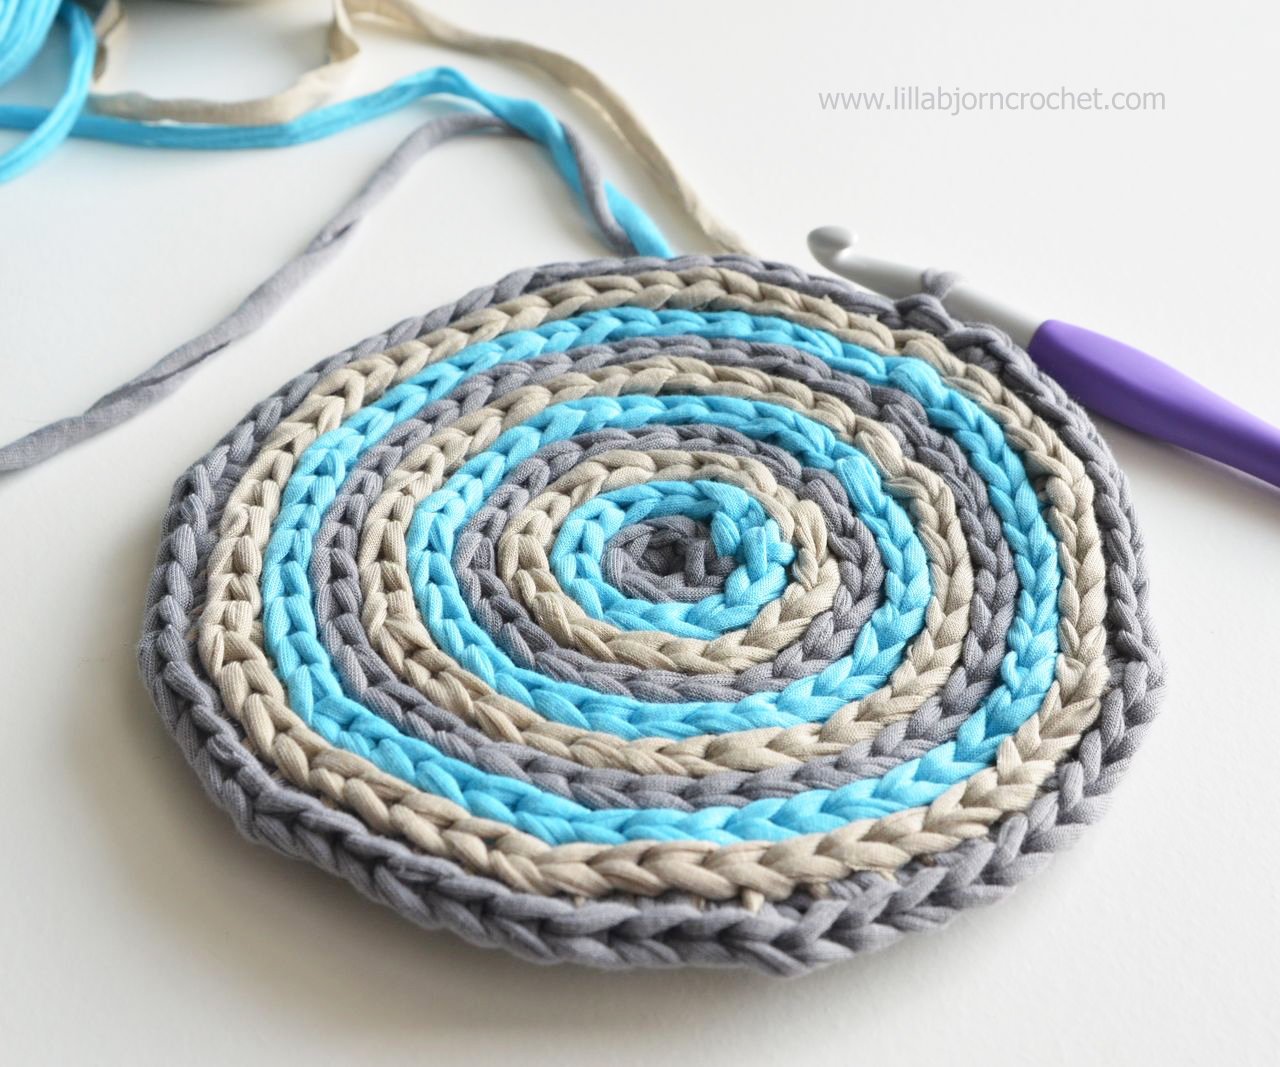
Nowadays crochet that looks like knitting is very popular, and I decided to try my hand in designing something very simple to contribute to this trend. I am playing with a Camel crochet stitch, working in rounds with colour changes on each round.
Camel stitch is very widely used in crochet wear design. Usually combined with half double crochet stitches (hdc - US term). But I thought it might be nice to try a bit “tighter version” with single crochet stitches (sc).
Camel stitch is very simple. The only difference is in a way you insert the crochet hook. If you are a beginner you may only have worked through both loops so far. You can also crochet in front loops or back loops only. And you can also crochet in 3rd loop – to obtain a “knit look” effect.
I’ve made pictures below to give you an idea of what “loops' anatomy” looks like. In 2nd picture you can see that 3rd loop lies just behind back loop on the wrong side of your work. And this is the one you need for a Camel stitch. It might be easier to see it in hdc stitches. If you would like to practice, you may use a free hat pattern recently released by Miss Neriss (available HERE).
Camel Crochet Stitch Tutorial
For my new pillow project I work in rounds and change colours on every round. I decided to write this short photo-tutorial to show you the tips I have come up with (especially for joining the rounds). US terms and abbreviations are used here.
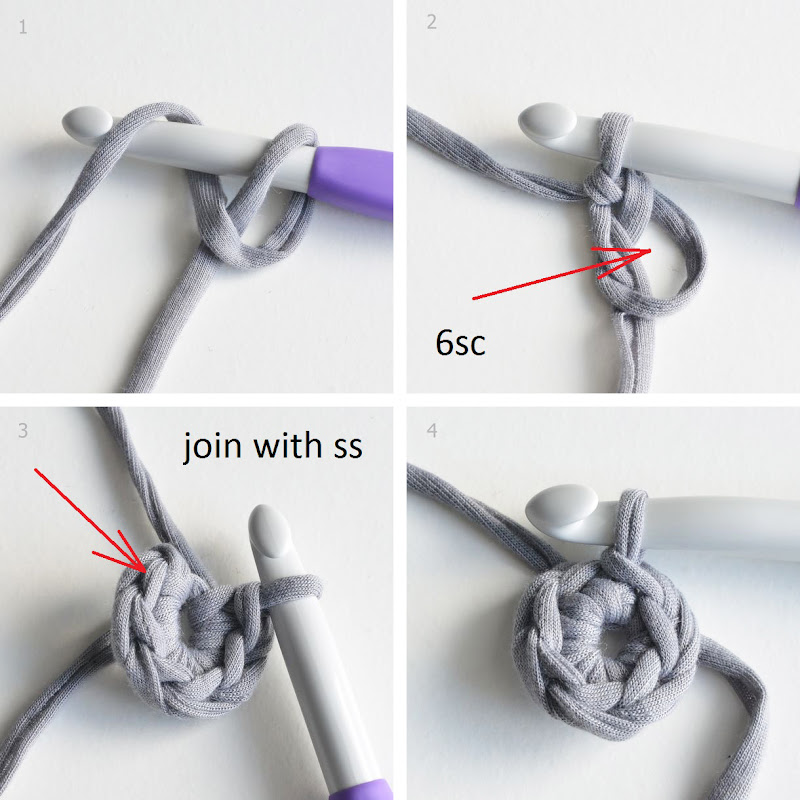
Round 1. To begin make a magic ring, ch1 (which doesn’t count as sc) and 6 sc into a magic ring. Join the round with slip stitch (ss) in 1st sc of the round after ch1 (insert the hook under both loops (front and back).
Round 2. Change yarn making ch1 with new colour. Now you will be working in 3rd loops of the stitches from round 1. The 1st sc is made in the same stitch as join.
Ch1, 2sc (3rd lp) in each stitch around; join with ss in 1st sc after ch1.
If you just join with ss, there might be a joining seam visible on right side. I was thinking of how it is possible to avoid it, and here is the tip I have come up with: after you join the round with ss, drop loop of yarn from the hook (pic.1 below), then insert the hook under back loop of same stitch as join (from back to front – pic.2), put the loop on the hook again and pull it under back loop to the wrong side of your work (pic.3). It should help to make the seam less visible.
Round 3. Change yarn again in the same way as on Round 2 and work again in 3rd loops of the stitches.
To make a flat circle, make 6 increases on each round. I will post complete instructions together with the pattern of my new pillow in 2 weeks. UPDATE: UFO pillow free crochet pattern is available HERE.
If you would like to try Mini Nooodle yarn, it's available via Wool Warehouse HERE* or from your local Scheepjes shops.
Have a nice weekend,

Subscribe to a newsletter not to miss a single post. You can also follow me on Facebook, Pinterest and Instagram.
p.s. Thank you for using my affiliate links (marked with *). It costs you nothing but helps to support my blog. It’s very much appreciated.


Lovely description of a Camel stitch, thank you!
ReplyDelete