
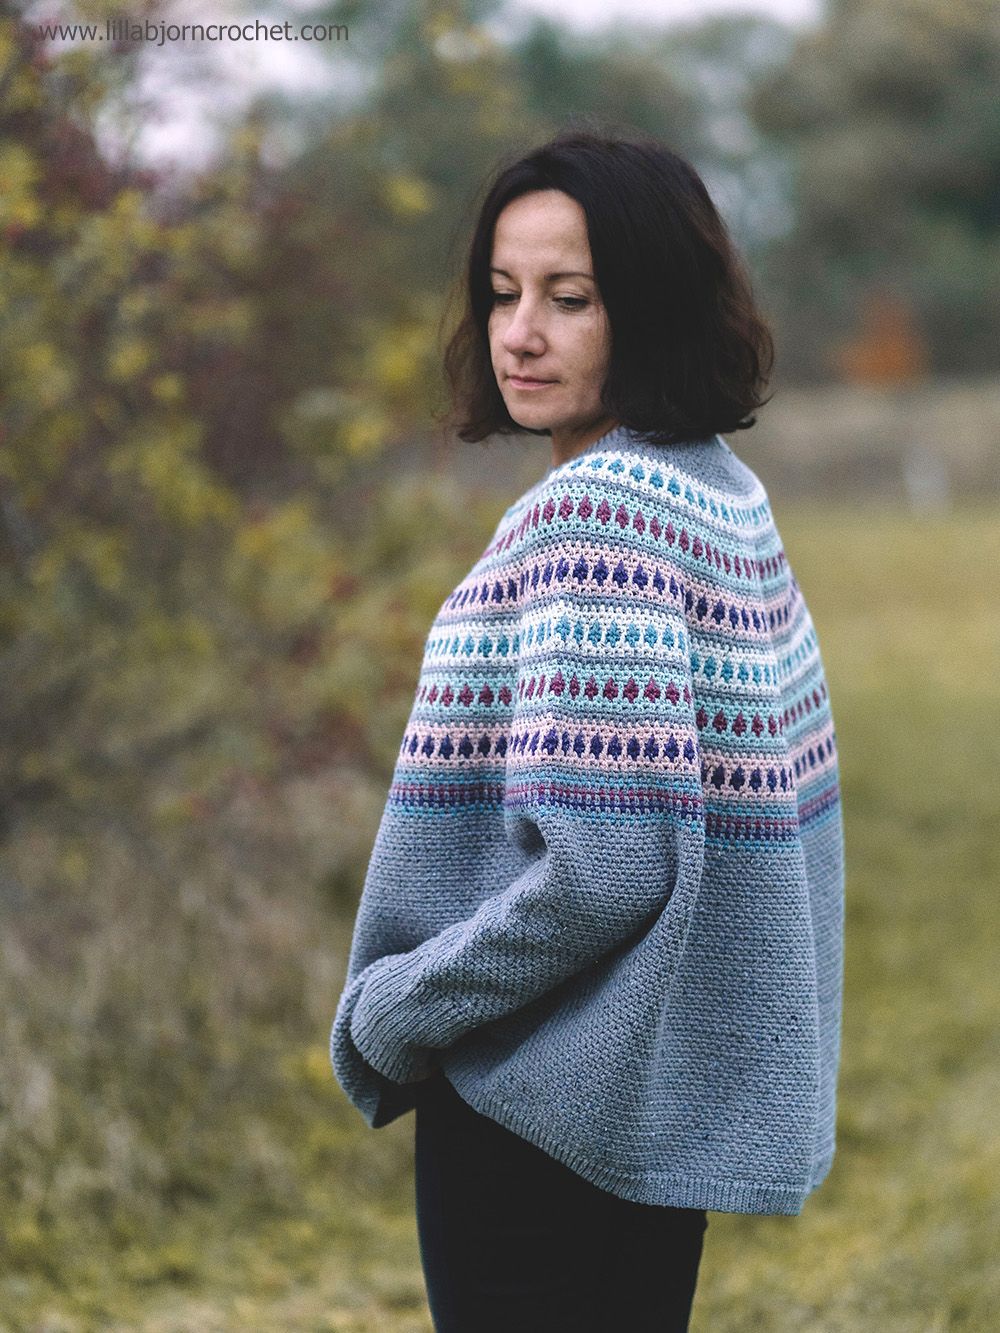
The swoncho (a mixed shape between the sweater and poncho) has been on my designing list for a couple of years now. And today I am excited to say that I have finally brought this idea to life. Let me introduce – a Polar Swoncho. A comfy and snaggy garment for everyday wear. The pattern is free on my blog below, but if you prefer an ads-free version in one printable pdf file, you can find it HERE on Ravelry and HERE on Etsy.

Materials:
Scheepjes Terrazzo (70% Recycled Mulesing Free Wool x 30% Recycled Viscose; 50g/175m)
You can find Terrazzo via your local Scheepjes shops, and via online retailers: Wool Warehouse* (UK, international shipping), Caro's Atelier* (NL and Europe), Taemombo (US and Canada).
Here is the list of the colors and yarn amounts for some colors. As you can
see, only 1/2 skein was used for some colors, so you can play around and use
less colors for your swoncho. Or go creative and use leftovers from your
stash.
Yarn A: 741 Cenere (747 Tortora) x8 balls / 13 balls
Yarn B: 745 Pergamena (740 Piuma) x1 ball /1 ball
Yarn C: 735 Fontana (749 Caffe Nero) x1 ball (21g) / 1 ball (25g)
Yarn D: 736 Bolle (746 Sabbia) x1 ball / 2 balls (52g)
Yarn E: 720 Sangria (710 Pera) x1 ball (25g) / 1 ball (27g)
Yarn F: 712 Sassolino (756 Guscio d'Uovo) x1 ball / 2 balls (57g)
Yarn G: 730 Melanzana (748 Cioccolato) x1 ball (30g) / 1 ball (33g)
3mm, 3.5mm and 4mm crochet hook (or the size to obtain correct gauge)

Sizes: 1 (2)
Size 1 will fit XXS-L
Size 2 will fit XL-3X
Lower body circumference: 172 (205) cm/68¼ (93¼) in
Sleeve circumference at elbow: 28 (42.5) cm/11 (16 ¾) in
Gauge for beginning of the yoke: 24 sts x 22 rows to measure 10 x 10cm/ 4 x 4in, blocked (every sc and every ch1 and will count as 1 st)
Gauge for lower body: 22 sts x 22 rows to measure 10 x 10cm/ 4 x 4in, blocked (every sc and every ch1 and will count as 1 st)
Abbreviations (US terms)
beg begin(ning)
blo back loop(s) only
BOR beginning of the round
ch chain stitch
cont continue
corr corresponding
dc double crochet
dc3tog double crochet 3 together
prev previous
RS right side
sc single crochet
ss slip stitch
st(s) stitch(es)
sp(s) space(s)
yo yarn over the hook
pm place marker
prev previous
WS wrong side
Pattern repeats:
[…] repeat instruction inside […] as many times as indicated in the pattern.
*…; rep instruction after * as many times as indicated in the pattern.
Pattern notes:
The Polar Swoncho (sweater&poncho) is designed in two sizes. It is worked seamlessly top down. First, the ribbing with slip stitches in back loops only is worked vertically, then some short rows are done to raise the back neck. Then the deep and wide mosaic yoke is worked down to separation for body and sleeves. The sleeves are ribbed, and you can make them longer for a cuffed version. Then the lower body is worked in rounds to the desired length and is finished with ribbing.

INSTRUCTIONS
YOKE
Beg with Yarn A and 3mm hook.
Row 1: Ch7, 1ss in second ch from hook, 1ss in each ch across, turn – 6 ss.
Row 2: Ch1 (does not count as a st here and throughout), 1ss blo in each st across, turn.
Rep Row 2 until you have 68 (84) ridges (or 136 (168) rows in total).
Join short sides of the ribbing with flat zip method on RS and cont working along the long edge of the ribbing.
Round 1: Change to 3.5mm hook. Ch1, [1sc in next ridge, ch1] rep
around, ss to beg sc –
136 (168) sts counting every sc and every ch1-sp as a st; or 68 (84) sc
& ch-sps.
Round 2: Ch1, [1sc in next sp, ch1, skip 1 st] rep around, ss to beg sc.
SHORT ROWS
Short row 1: Ch1, 1sc in next sp (pm for BOR – centre back), [ch1, skip 1 st, 1sc in next sp] rep 16 (18) times, ch1, skip 1 st, 1ss in next sp, turn.
Short row 2: Ch1, skip ss, 1sc in next sp, [ch1, skip 1 st, 1sc in next sp] rep to BOR, ch1 (pm), skip BOR, 1sc in same sp as BOR, [ch1, skip 1 st, 1sc in next sp] rep 16 (18) times, ch1, skip 1 st, 1ss in next sp, turn.
Short row 3: Ch1, skip ss, 1sc in next sp, [ch1, skip 1 st, 1sc in next sp] rep to 4sc and 3 ch1-sps left before edge of prev short row (moving BOR m up to corr st/sp), ch1, skip 1 st, 1ss in next sp, turn.
Rep Short row 3 three more times.
Next row (RS): Ch1, skip ss, 1sc in next sp, [ch1, skip 1 st, 1sc in next sp] rep to last sc before marked BOR sp, ch1, skip 1 st, 1ss to marked sp, turn.
Resume working in rounds.
Next round (WS): Ch1, 1sc in next sp, ch1, skip 1 st, [1sc, ch1, skip 1
st] rep around skipping the bumps/steps on the edges of the short rows and
working sc in same sp as ss; at the same time work (1sc, ch1, 1sc) in any
space at centre front, join with ss to beg sc, turn –
68 (84) sc & ch-sps.
IMPORTANT! Gauge check: at this point the gauge should be 24 sts per 10cm/4in (slightly stretched or blocked) – to Mosaic Panel 5.
INC SET 1 (RS): Ch1, [1sc in next sp, ch1, skip 1 st, (1sc, ch1, 1sc) in next sp, ch1, skip 1 st] rep around, ss to beg sc, turn – 102 (126) sc & ch-sps.
Next round (WS): Ch1, 1sc in next sp, ch1, skip 1 st, [1sc, ch1, skip 1 st] rep around, ss to beg sc, turn.
MOSAIC PANEL 1
Round 1 (RS): Ch1 changing to Yarn B (do not cut Yarn A), 1sc in next sp, ch1, skip 1 st, [1sc, ch1, skip 1 st] rep around, ss to beg sc, turn.
Rounds 2-4: Cont with Yarn B and rep Round 1 alternating RS and WS.
Round 5 (RS): Ch1 changing to Yarn C (do not cut Yarn B), [1sc in next sp, 1dc in skipped st from 3 round below, 1sc in next sp, ch1, skip 1 st] rep around, ss to beg sc, turn.
Round 6 (WS): Cont with Yarn C. Ch1, [1sc in next sp, ch1, skip 1 st, 1sc in next st, ch1, skip 1 st] rep around, ss to beg sc, turn.
Round 7 (RS): Ch1 changing back to Yarn B by grabbing it up on WS (make sure the float of yarn does not pull) and cut Yarn C leaving approx. 25cm/10in tail for safe weaving, [1sc in next sp, ch1, skip 1 st, 1sc in next sp, 1dc in skipped st from 3 rounds below] rep around, ss to beg sc, turn.
Round 8 (WS): Cont with Yarn B. Ch1, [1sc in next st, ch1, skip 1 st, 1sc in next sp, ch1, skip 1 st] rep around, ss to beg sc, turn.
Round 9 (RS): Change back to Yarn A (cut Yarn B), rep Round 1.
MOSAIC PANEL 2
Rep Rounds 1-9 from Mosaic Panel 1 using Yarn D and Yarn E for contrast color. Then rep round 9 once more.
MOSAIC PANEL 3
Rep Rounds 1-9 from Mosaic Panel 1 using Yarn F and Yarn G for contrast color.
INC SET 3: Ch1, *[1sc in next st, ch1, skip 1 st] three times, (1sc, ch1, 1sc) in next sp, ch1, skip 1 st; rep from * around, ss to beg sc, turn – 170 (210) sc & ch-sps.
MOSAIC PANEL 4
Rep Rounds 1-9 from Mosaic Panel 1. Then rep round 9 once more.
MOSAIC PANEL 5
Change to 4mm hook or stay with 3.5mm and work a little looser. The gauge should change to approx. 22sts per 10cm/4in, slightly stretched, or blocked.
Rep Rounds 1-9 from Mosaic Panel 1 using Yarn D and Yarn E as contrast color.
INC SET 4: Ch1, *[1sc in next st, ch1, skip 1 st] four times, (1sc, ch1, 1sc) in next sp, ch1, skip 1 st; rep from * around, ss to beg sc, turn – 204 (252) sc & ch-sps.
MOSAIC PANEL 6
Rep Rounds 1-9 from Mosaic Panel 1 using Yarn F and Yarn G for contrast color. Then rep round 9 once more. Then rep Round 1 from Mosaic panel 1 – seven more times, alternating RS and WS in the following order of colors: C, A, E, A, G, A, C.
INC SET 5: Ch1, *[1sc in next st, ch1, skip 1 st] five times, (1sc, ch1, 1sc) in next sp, ch1, skip 1 st; rep from * around, ss to beg sc, turn – 238 (294) sc & ch-sps.
Cont with Yarn A and rep Round 1 from Mosaic Panel 1 until yoke is approx. 50cm/20in measured on front down from neck opening (should be just below elbow). Work last round on WS.

SEPARATION for BODY and SLEEVES
Separation round (RS): Ch1, 1sc in next st, [ch1, skip 1 st, 1sc in next sp] rep 45 (53) times for half back, ch7 (13), skip 55 (81) sts for one sleeve, 1sc in next sp, [ch1, skip 1 st, 1 sc in next sp] rep 91 (106) times for front, ch7 (13), skip 55 (81) sts for another sleeve, [1sc in next sp, ch1, skip 1 st] rep 46 (53) times, ss to beg sc, turn – 380 (452) sts for lower body counting both ch-bridges.

LOWER BODY
Round 1 (WS): Ch1, [1sc in next sp, ch1, skip 1 st] rep around treating every underarm ch as one st, ss to beg sc, turn – 190 (226) sc & ch-sps.
Round 2: Ch1, [1sc in next sp, ch1, skip 1 st] rep around, ss to beg sc, turn.
Rep round 2 until lower body is approx. 20 (25) cm/7¾ (9¾) in measured down from the underarm, or 2cm shorter than desired length. Then proceed to ribbing.
Ribbing for lower body
Work horizontally (side to side) around the bottom of the body with 3mm hook.
Row 1 (RS): Ch8, beg in second ch from hook, 7ss, 1ss in next sc lower body, turn – 8 sts.
Row 2 (WS): Ch1, skip ss worked on lower body, 7ss blo, turn – 7 sts.
Row 3 (RS): Ch1, 7ss, 1ss in next sc lower body, turn – 8 sts.
Row 4 (WS): Ch1, skip ss worked on lower body, 7ss blo, turn – 7 sts.
Rows 5-8: Rep Rows 3-4 twice.
Row 9: Ch1, 7ss blo, 1ss in next sp on lower body, turn – 8 sts.
Row 10: Ch1, skip ss worked on lower body, 7ss blo, turn – 7 sts.
Rep rows 3-10 around. Join short sides of ribbing with flat zip method, fasten off.

SLEEVES (both alike)
With RS facing you, attach Yarn A with ss in a central space in the underarm.
Round 1: Ch1 (doesn’t count as a st), 1sc in same sp as join, ch1, skip 1 st, [1sc in next sp, ch1, skip 1 st] rep around, ss to beg sc, turn – 31 (47) sc & ch-sps.
Round 2: Ch1, [1sc in next sp, ch1, skip 1 st] rep around, ss to beg sc, turn.
Rep round 2 until sleeve is approx. 13cm/5in measured from underarm. Proceed to Ribbing.

Ribbing for sleeves
Work horizontally (side to side) around the bottom of the body with 3mm hook.
Row 1 (RS): Ch32 (or more if you prefer a cuffed sleeve), beg in second ch from hook, 31ss, 1ss in next sc of lower body, turn – 32 sts.
Row 2 (WS): Ch1, skip ss worked on lower body, 31ss blo, turn – 31 sts.
Row 3 (RS): Ch1, 31ss, 1ss in next sc of lower body, turn – 32 sts.
Row 4 (WS): Ch1, skip ss worked on lower body, 31ss blo, turn – 31 sts.
Rows 5-8: Rep Rows 3-4 twice.
Row 9: Ch1, 31ss blo, 1ss in next sp on lower body, turn – 32 sts.
Row 10: Ch1, skip ss worked on lower body, 31ss blo, turn – 31 sts.
Rep rows 3-10 around. Join short sides of ribbing with flat zip method, fasten off.
Purchase ads-free printable pdf with Polar Poncho pattern on
Ravelry HERE
and
Etsy HERE. the file includes all written instructions and link to the video tutorial
without ads.
Congratulations! Your Polar Swoncho is now finished!


Very interesting pattern but I have a question. When working the body in the round doesn't it tend to pull the fabric on an angle? I have done this and found the fabric to not block square. How to you deal with this problem?
ReplyDeleteThis swoncho is worked in rows back and forth, so there is no tilting at all.
DeleteHello! This swoncho is worked in rows back and forth, so there is no tilting at all.
DeleteGracias, es muy lindo.
ReplyDeleteBeautiful!
ReplyDeletebeautiful swoncho. Is the pattern going to be available in dutch also ?
ReplyDeleteThat is a beautiful swoncho. Is the payed version of this pattern also going to be available in other languages? I would love to be able to purchase it in dutch. Kind regards and happy Holidays.
ReplyDeletethanks for your suggestion. I will have a think of that.
DeleteGorgeous! I usually need to lengthen garments, and so to order more yarn. To help me plan: what is the length of your poncho?
ReplyDeleteThis comment has been removed by the author.
ReplyDeleteThe length is approx. 72 (77) cm measured from neck opening down to the bottom.
DeleteIs there meant to be any stretch in the neck rib? I have done around a quarter of the rows and it is only 9cm which means it will never be big enough for my head to go through and will be strangulating on the neck. I should probably go up a couple of hook sizes
ReplyDelete