Showing posts with label cowl. Show all posts
Showing posts with label cowl. Show all posts
Hi there! We discussed different ways of knitting last week and came to the conclusion that whatever way you knit, it’s fine. If it works for you and if your stitches look right in the end. I decided to relax about my “weird” way of knitting. Especially after hearing that lots of other people successfully use it in the different parts of the world. Truly, there is no right or wrong knitting!
In a meanwhile, I have finished my Furry Cloud Cowl! These pictures arrived from Minsk, from my dear friends Oleg (photographer) and Natasha (model).
This winter in the Czech Republic is incredibly warm. We had a little bit of snow just once or twice, and it didn’t last for long. In Belarus there were just a few snowy days as well, and we were lucky to catch them in the pictures.
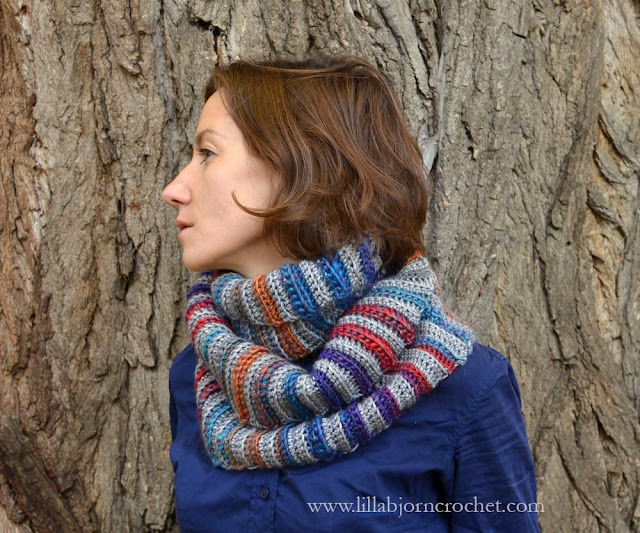
So here is my brand new Furry Cloud Cowl! A very simple knit with two layers: cables were knitted with Scheepjes River Washed yarn* (Wheaton (950) - 5 balls), and the bottom is straightforward stockinette fabric with Scheepjes Furry Tales yarn* (Prince Charming (975) - 3 balls).
As you can see in the pictures, my cowl is pretty long – approx. 150cm in length (30cm width), because I wanted it to be enough to double wrap around the neck. To make it very cozy and snuggly. This way you can even pull one wrap over the head, to make an improvised hood.
But it is very easy to make the cowl shorter, for just one wrap. All you need is to make both layers twice shorter. And you’ll need twice less yarn, obviously.
I chose a very simple knit pattern for the top. It consists of five 9-stitched braids. Easy to remember and meditative to knit.
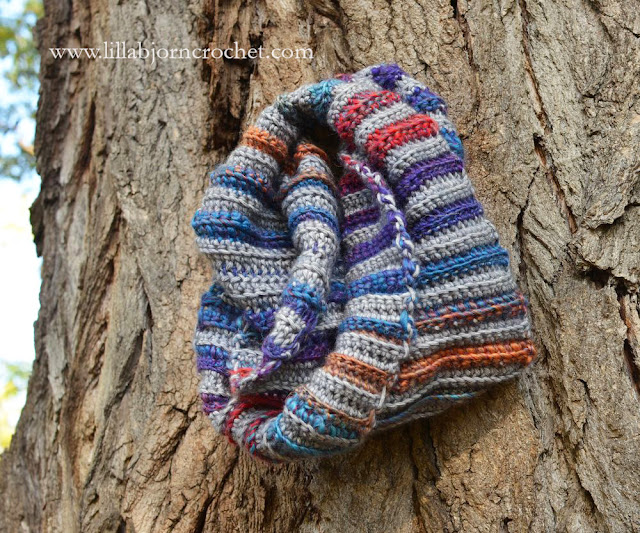
And the bottom is just one fluffy cloud of 25 stitches. With large (8mm) needles and Furry Tales you won’t even notice when it will be finished! The fabric is growing in your hands very fast... And it also makes the cowl reversable!
Free pattern will follow next week! So stay tuned.
Subscribe to a newsletter not to miss a single post. You can also follow me on Facebook, Pinterest and Instagram.

P.s. Links marked with * are affiliate. If you make a purchase through these links I might be compensated with a tiny amount while you will not pay anything extra. Thank you for supporting my blog!
 |
| Photo credit: Oleg Ignatovich |
In a meanwhile, I have finished my Furry Cloud Cowl! These pictures arrived from Minsk, from my dear friends Oleg (photographer) and Natasha (model).
This winter in the Czech Republic is incredibly warm. We had a little bit of snow just once or twice, and it didn’t last for long. In Belarus there were just a few snowy days as well, and we were lucky to catch them in the pictures.
 |
| Photo credit: Oleg Ignatovich |
So here is my brand new Furry Cloud Cowl! A very simple knit with two layers: cables were knitted with Scheepjes River Washed yarn* (Wheaton (950) - 5 balls), and the bottom is straightforward stockinette fabric with Scheepjes Furry Tales yarn* (Prince Charming (975) - 3 balls).
As you can see in the pictures, my cowl is pretty long – approx. 150cm in length (30cm width), because I wanted it to be enough to double wrap around the neck. To make it very cozy and snuggly. This way you can even pull one wrap over the head, to make an improvised hood.
 |
| Photo credit: Oleg Ignatovich |
But it is very easy to make the cowl shorter, for just one wrap. All you need is to make both layers twice shorter. And you’ll need twice less yarn, obviously.
I chose a very simple knit pattern for the top. It consists of five 9-stitched braids. Easy to remember and meditative to knit.
And the bottom is just one fluffy cloud of 25 stitches. With large (8mm) needles and Furry Tales you won’t even notice when it will be finished! The fabric is growing in your hands very fast... And it also makes the cowl reversable!
 |
| Photo credit: Oleg Ignatovich |
Free pattern will follow next week! So stay tuned.
Subscribe to a newsletter not to miss a single post. You can also follow me on Facebook, Pinterest and Instagram.

P.s. Links marked with * are affiliate. If you make a purchase through these links I might be compensated with a tiny amount while you will not pay anything extra. Thank you for supporting my blog!
Have you noticed that brioche patterns are very trendy nowadays? I can see knitted brioche shawls, scarves and clothes everywhere. As well as brioche interior accessories, such as rugs and pillows… If you search for “brioche” (on Pinterest, for example) you will see loads of knitting projects. And not so many crochet… I thought it’s unfair and decided to recreate brioche looking pattern in crochet.
Actually this is not my first attempt. Earlier this year two Labyrinth patterns were released – for a mandala which later was grown into a rug. I used overlay crochet for that, and crocheted fabric turned out very sturdy and stiff. Just great for pillows and rugs, but maybe not very suitable for blankets, and no good at all for wearable accessories.
So this time I decided to go further and develop a slightly different technique which allows crochet light, airy and well draping pieces. And more than that – I wanted to figure out how to make brioche crochet in rows (and not in rounds as you can usually see). And Ta-dah!!! Here is my newest Brioche Waves crochet pattern.
You can find the pattern both on Ravelry HERE and Etsy HERE. Hurry up as it is discounted only this weekend (through Monday, August 28)!! And you will save 25% (no coupon code needed).
Add this pattern to your Ravelry Queue
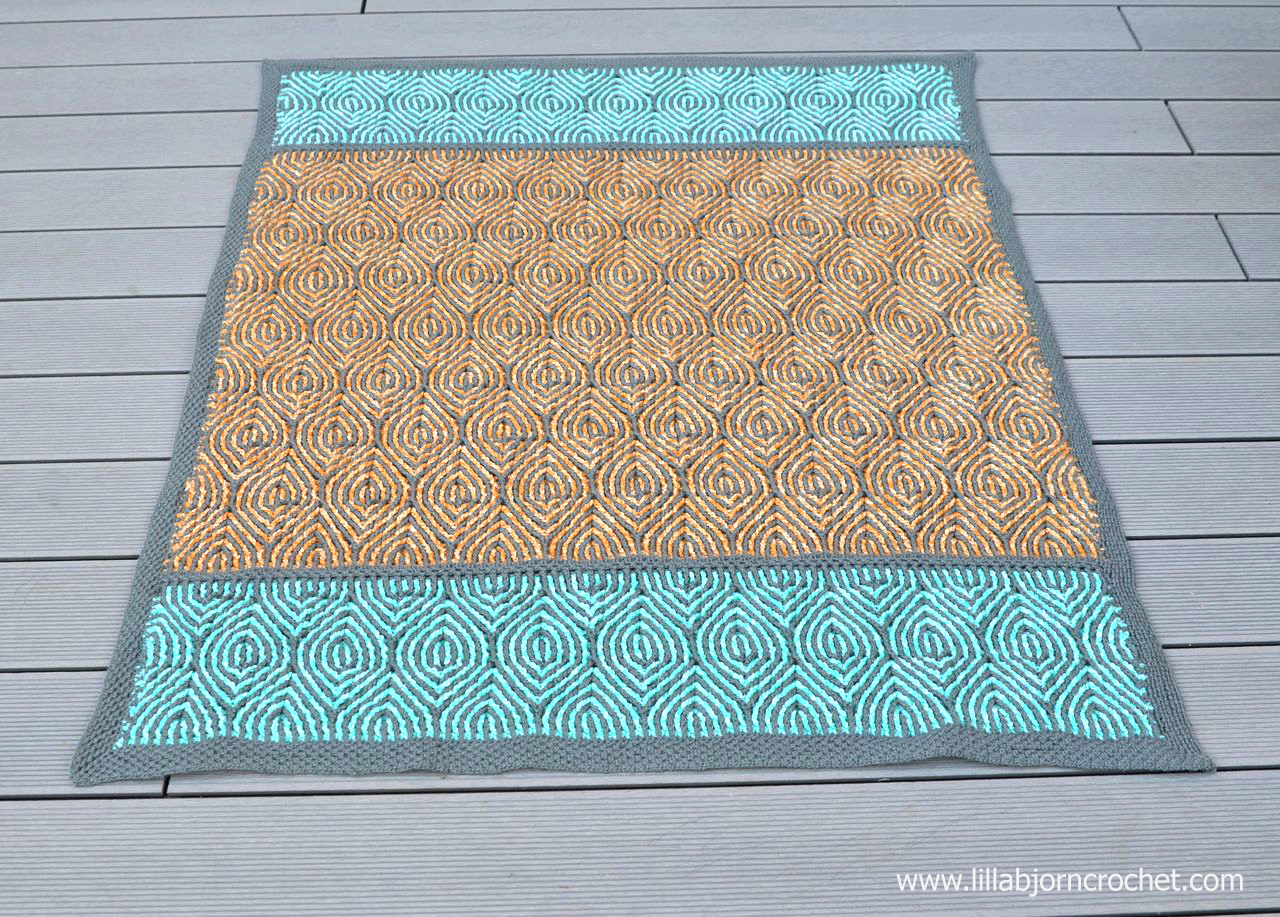
What is so special about this pattern? First of all I like the feel very much. When I show my new blanket to friends, they like it. But when they touch it – they love it. I wish I were a skilled writer to describe the feeling with words… Maybe pictures will help? The fabric is made up with two layers which are interlocked. The wrong side of the blanket reminds me of fish gills. It is very soft and touchable. And secondly, you can use this pattern for almost ev-ry-thing! Blankets, cowls, pillows, trivets, potholders, rugs, bags… you name it. You will easily adjust it for any width and length.
Brioche Waves pattern contains two versions: “airy” – which I used for a blanket, and “overlay” – with no chains and holes. Great for home accessories. You can see the difference of the wrong sides below.
The pattern also includes complete instructions to finish the blanket and the cowl shown in this post.
Because in fact you crochet the entire piece with only front post stitches, it is better to choose very soft and light yarn for this project. Heavier yarns will work well for smaller project (like my Brioche Cowl for example made with Merino Soft* yarn by Scheepjes – reviewed HERE). But for the blanket I would recommend yarn with very good yardage.
I wanted to play with colors and for my blanket I chose Colour Crafter* (reviewed HERE) and Colour Crafter Velvet* yarn by Scheepjes. They both are premium acrylic and come in the same yardage and in nicely matching colors. The only difference is that dying process for Velvet yarn is a bit different, and it makes Velvet a bit stiffer than regular Colour Crafter. Ideally you will need equal amount of two shades for Brioche Waves pattern. But because of this difference you will need a little bit more of Velvet.
Let me show you examples of what Brioche Waves pattern can be used for.
1. The stitch pattern was specially designed for a blanket, so you can of course make a blanket with it. I should warn you that because you make lots of front post stitches this project is not quick. Even for me it was a bit slow but the final result is worth it! The huge advantage is that you are using both yarns at once. No need to break the yarn and weave in tails. So your time is saved already!
2. You can use Brioche Waves pattern for smaller projects, like cowls and scarves. I made one for myself.
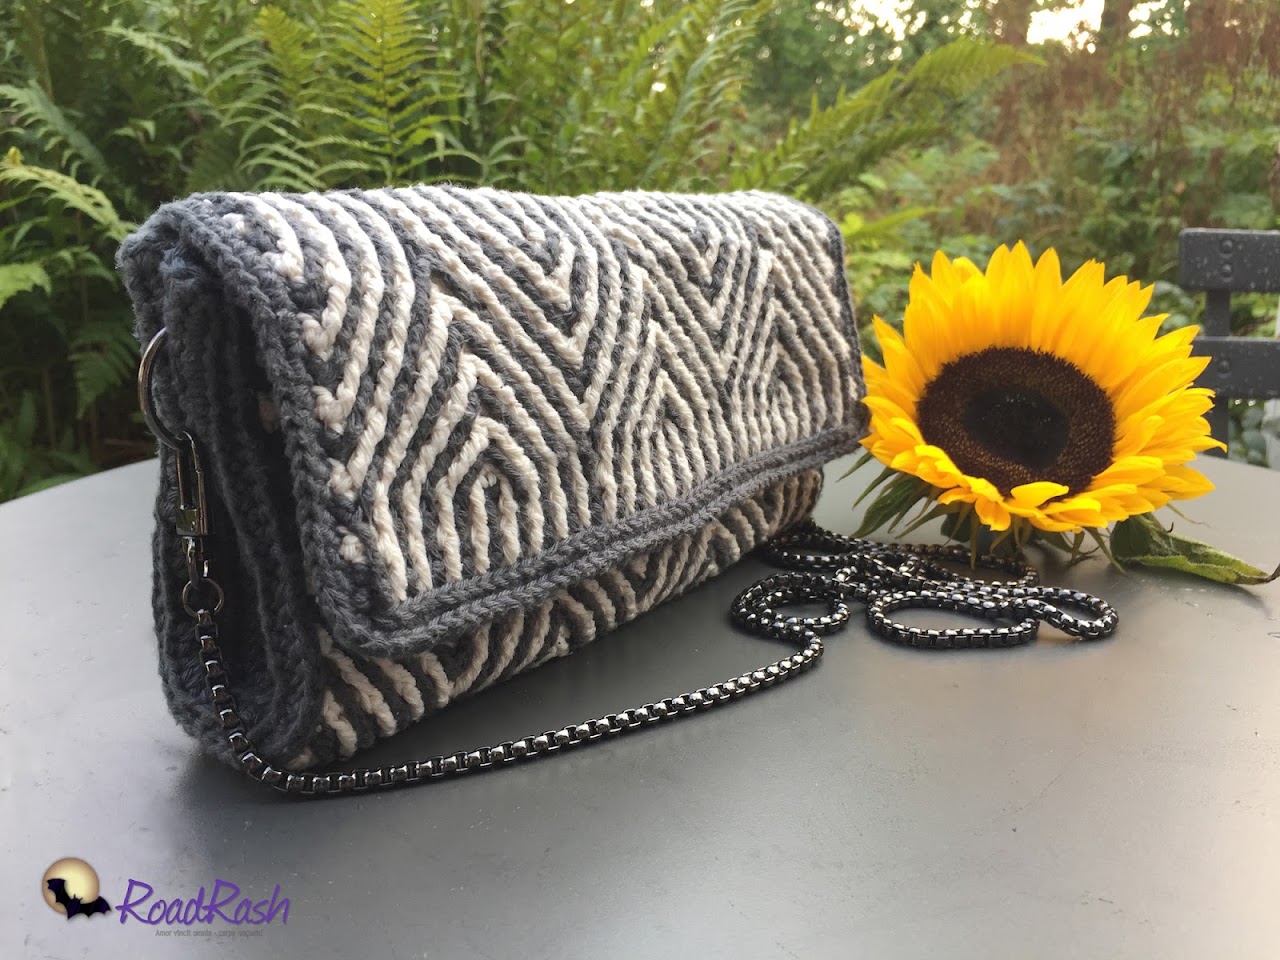
3. As already mentioned, the pattern contains “overlay version” which creates a sturdy and stiff fabric. Good for different kinds of trivets and potholders.
I made a small sample in overlay crochet (with Stone Washed* yarn - reviewed HERE) and then played with it on computer to see how it may look as a rug. Pretty nice, isn’t it?
4. Overlay version is also perfect for bags. Hilde Tindlund was helping me to test the pattern. And look what a wonderful Zebra Clutch she made! You will find all details (and more pictures) on Hilda's project page HERE on Ravelry.
******************************************************************
About Brioche Waves crochet pattern in brief:
Subscribe to a newsletter not to miss a single post. You can also follow me on Facebook, Pinterest and Instagram.

Actually this is not my first attempt. Earlier this year two Labyrinth patterns were released – for a mandala which later was grown into a rug. I used overlay crochet for that, and crocheted fabric turned out very sturdy and stiff. Just great for pillows and rugs, but maybe not very suitable for blankets, and no good at all for wearable accessories.
So this time I decided to go further and develop a slightly different technique which allows crochet light, airy and well draping pieces. And more than that – I wanted to figure out how to make brioche crochet in rows (and not in rounds as you can usually see). And Ta-dah!!! Here is my newest Brioche Waves crochet pattern.
You can find the pattern both on Ravelry HERE and Etsy HERE. Hurry up as it is discounted only this weekend (through Monday, August 28)!! And you will save 25% (no coupon code needed).
Add this pattern to your Ravelry Queue
What is so special about this pattern? First of all I like the feel very much. When I show my new blanket to friends, they like it. But when they touch it – they love it. I wish I were a skilled writer to describe the feeling with words… Maybe pictures will help? The fabric is made up with two layers which are interlocked. The wrong side of the blanket reminds me of fish gills. It is very soft and touchable. And secondly, you can use this pattern for almost ev-ry-thing! Blankets, cowls, pillows, trivets, potholders, rugs, bags… you name it. You will easily adjust it for any width and length.
Brioche Waves pattern contains two versions: “airy” – which I used for a blanket, and “overlay” – with no chains and holes. Great for home accessories. You can see the difference of the wrong sides below.
The pattern also includes complete instructions to finish the blanket and the cowl shown in this post.
Because in fact you crochet the entire piece with only front post stitches, it is better to choose very soft and light yarn for this project. Heavier yarns will work well for smaller project (like my Brioche Cowl for example made with Merino Soft* yarn by Scheepjes – reviewed HERE). But for the blanket I would recommend yarn with very good yardage.
I wanted to play with colors and for my blanket I chose Colour Crafter* (reviewed HERE) and Colour Crafter Velvet* yarn by Scheepjes. They both are premium acrylic and come in the same yardage and in nicely matching colors. The only difference is that dying process for Velvet yarn is a bit different, and it makes Velvet a bit stiffer than regular Colour Crafter. Ideally you will need equal amount of two shades for Brioche Waves pattern. But because of this difference you will need a little bit more of Velvet.
Let me show you examples of what Brioche Waves pattern can be used for.
1. The stitch pattern was specially designed for a blanket, so you can of course make a blanket with it. I should warn you that because you make lots of front post stitches this project is not quick. Even for me it was a bit slow but the final result is worth it! The huge advantage is that you are using both yarns at once. No need to break the yarn and weave in tails. So your time is saved already!
2. You can use Brioche Waves pattern for smaller projects, like cowls and scarves. I made one for myself.
3. As already mentioned, the pattern contains “overlay version” which creates a sturdy and stiff fabric. Good for different kinds of trivets and potholders.
I made a small sample in overlay crochet (with Stone Washed* yarn - reviewed HERE) and then played with it on computer to see how it may look as a rug. Pretty nice, isn’t it?
4. Overlay version is also perfect for bags. Hilde Tindlund was helping me to test the pattern. And look what a wonderful Zebra Clutch she made! You will find all details (and more pictures) on Hilda's project page HERE on Ravelry.
******************************************************************
About Brioche Waves crochet pattern in brief:
- Difficulty Level: Intermediate (front post stitches)
- The size (width and length) can be easily adjusted to your taste and needs
- The pattern contains two versions: “airy” – good for blankets, scarves and cowl; and “overlay” – perfect for pillows, rugs, bags, trivets and potholders.
- The pattern also includes complete instructions to finish the blanket and the cowl shown in this post.
- Brioche Waves crochet pattern is on SALE right now with 25% off. The offer only valid this weekend (through Monday, August 28) and then it will be listed at a regular price. You can find Brioche Waves pattern on Ravelry HERE and Etsy HERE.
Subscribe to a newsletter not to miss a single post. You can also follow me on Facebook, Pinterest and Instagram.

Categories:
Brioche Waves,
Colour Crafter,
cowl,
crochet blanket,
Merino Soft,
potholder,
rug,
Scheepjes,
Stone Washed,
trivet
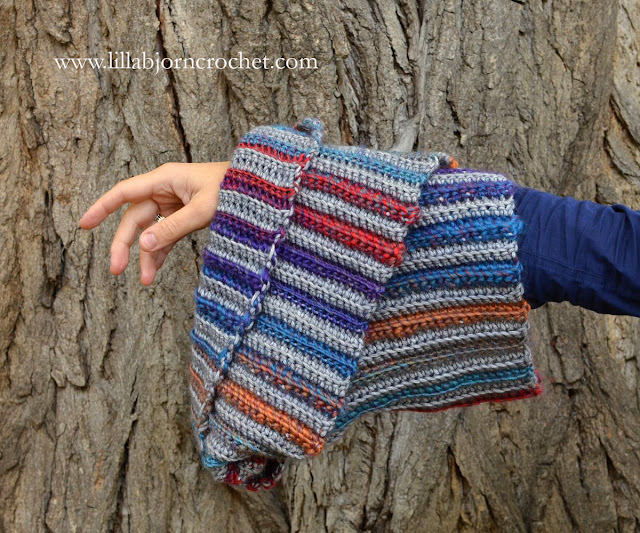
Do you know that feeling? You carefully plan your next crochet projects, you have a clear idea in mind, try to schedule everything. And then one day you dive into your stash, see two balls of yarn and start something completely new. Immediately! Unfortunately my inspiration is usually sleeping during the daytime and suddenly wakes up when I am almost in bed. It happened this time. I had been crocheting for two nights and here is the result. My new Forest Fog Сowl! Free pattern will be released next week but in a meanwhile I would like to show you some pictures.
Update: FREE pattern of Forest Fog Cowl can be found HERE!
I am very addicted to structured crochet. It seems like I am just not able to create something flat. As you probably know, I also like to crochet in back or front loops and combine different stitches. But this time I decided to create a very simple pattern which can be handled by super beginners! I also think this cowl will be a great project to train your skills in crocheting in different loops and keeping the gauge under control. But I will tell more about this in next post, together with the instructions on how to make this cowl.
I combined two totally different yarns to make this cowl (the only similarity is that both are produced by Scheepjes). It’s Stonewashed XL (shade 842) and Maxima (shade 15). As far as I know Maxima is only available for purchase in the Netherlands. But you can easily replace it with Vinci. I had only one skein of Maxima, so I had to choose an appropriate shade of Stonewashed XL. But you can take absolutely any shades you like. You can purchase these yarns via Scheepjes (ships to the Netherlands and Belgium), Deramores* or Wool Warehouse* (international shipping) and Paradise Fibers* (US).
My plan was to make a short (and wide), one-layerd cowl. But when I run out of Stonewashed XL and weighted Maxima I was very surprised to see that exactly half of the skein was used. So I decided to add one more skein of Stonewashed XL in the same shade and continued crocheting – hoping that in the end I will have enough length to wear this cowl in two layers. And wo-hoo!! It was enough!
So using 2 skeins of Stonewashed XL and 1 skein of Maxima (or Vinci) you can either make one long cowl or two short cowls (for yourself and your partner). And yes! This cowl is unisex :) Let me introduce my dear husband Andrei who (surprisingly) agreed to be pictured for this post. Though (fortunately) he refuses to wear this cowl as “rasberry is not his cup of tea” and this cowl is all mine!
I am in love with its structure and play of the colors. Just look and those tiny changes and nuances. Aren’t they beautiful? I made tons of pictures last weekend. It was unusually warm and sunny for this time of the year. But not to overload you, I will show only four.
The cowl turned out to be very thick. And even if you make a short variant – it will be warm enough and protective against wind.
Don’t miss the free pattern of this cowl and stay tuned! If you haven’t subscribed to my blog yet – you can do it now. And you can also follow me on Facebook, Pinterest and Instagram.
*affiliate link

I am very happy and excited to introduce my new free pattern of Autumn Winds Cowl. It consists of 8 granny squares joined together and assembled with lace stripes of different colors. You can adjust cowl size according to your taste. But please, note that you may need more (or less) yarn than stated in the pattern. I tried to write easy-to-follow instructions and also made a detailed photo-tutorial to help you read them through. And I am also very proud to introduce my first crochet chart. It took me almost forever to create it… But I managed to do that. :)
My new Autumn Winds Cowl is finally finished! I made fresh pictures last weekend and feel very excited to share them with you. I am in love with my new cowl. It is very soft and very warm. And the colors worked together in an excellent way (at least according to my subjective taste). A free pattern will be released in a week, on next Tuesday.
Subscribe to:
Posts (Atom)


